Favorite Scissors

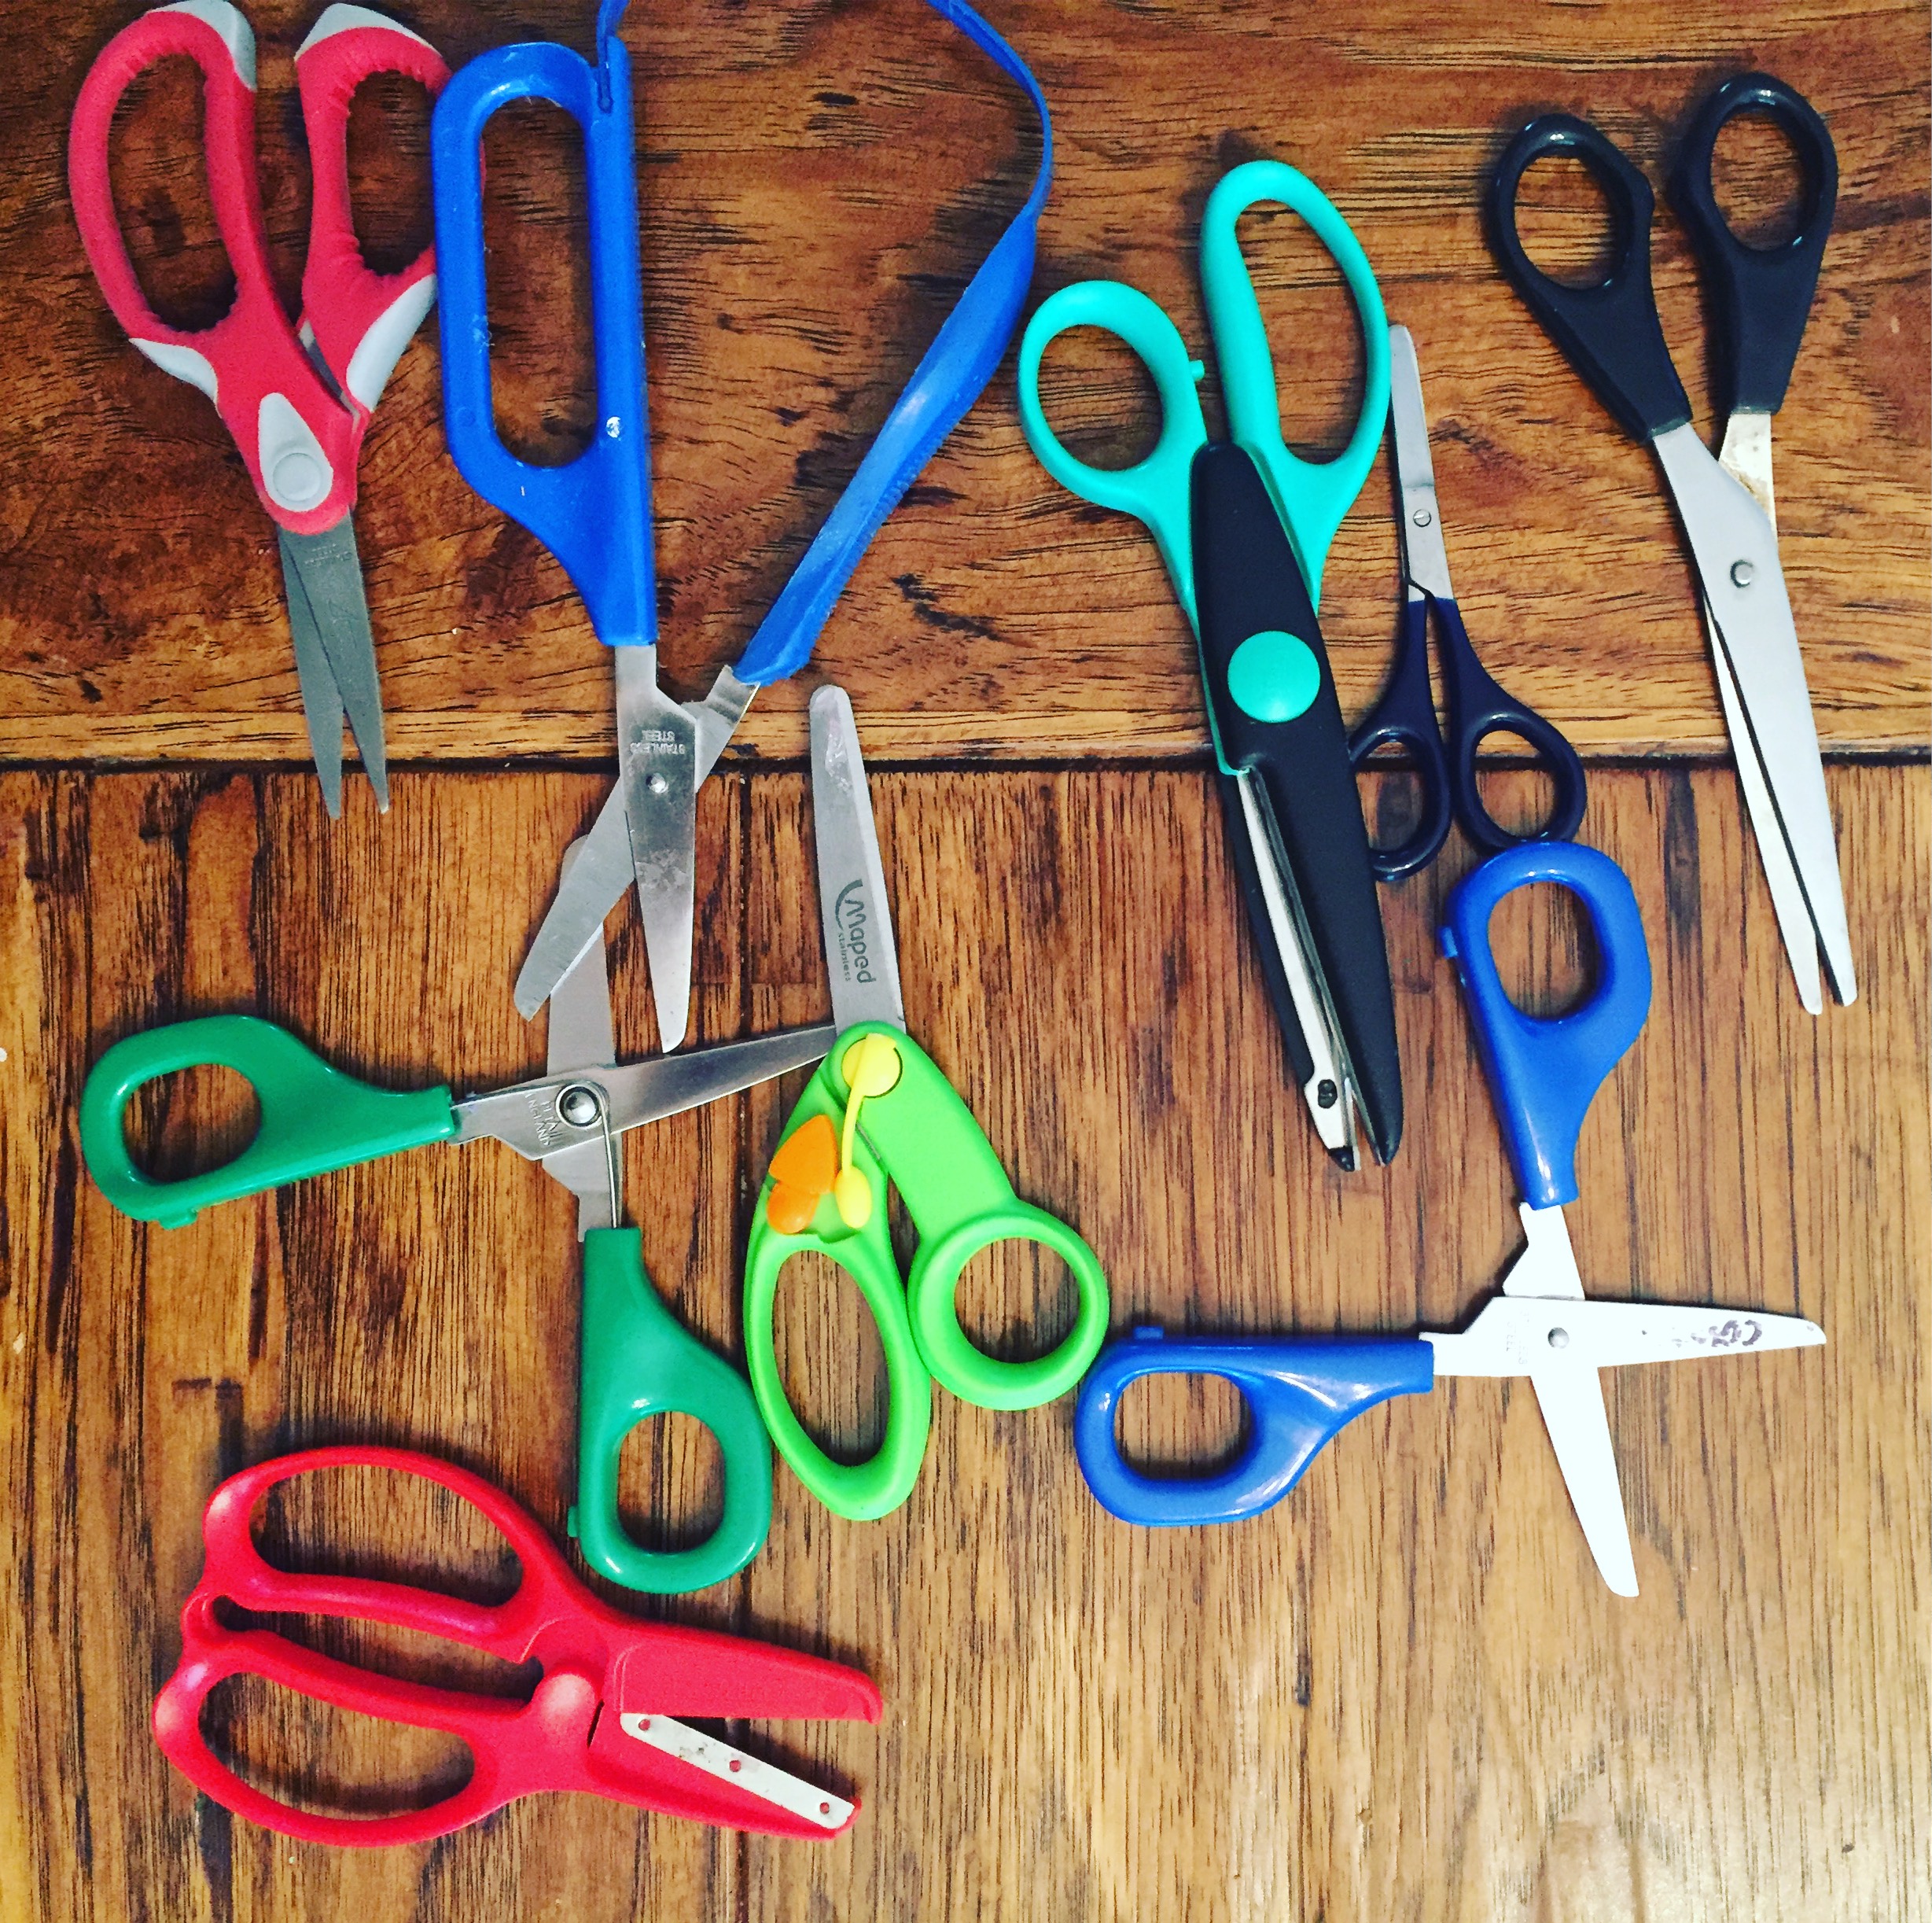
I have many, many scissors to use with kiddos of all ages. When kids are just learning to cut, the first step I like to begin with is actually not using scissors at all but is tearing paper. That way kiddos are learning how to use both sides of their hand and as we like to refer to it in OT jargon, “separate the sides of the hand.” This allows for skilled movements of the thumb and index finger that we also use when writing.

IMG_6944.JPG

There are many options out there for scissors and I’ll link a few here. It’s great to have options for kids so that they can try different ones to see what feels comfortable in their hands.

*Note that these are affiliate links to my favorite website for OT related products- a small commission- at no cost to you- helps me create this content- I appreciate your support!

To help kiddos place the fingers properly in scissors, the optimal positioning is with the thumb in the small hole and facing towards the face (not turned downward), and the middle finger is in the bottom hole. The index finger is actually best placed outside of the hole so that it can help guide the scissors. The ring finger and pinky are then tucked into the palm to help with stabilization. The fingers shouldn’t be placed all the way onto the scissors so the scissors are almost touching the palm but rather, at the middle knuckle of the fingers to help for easier open and closing.

Use some visuals to help kiddos continue moving forward when cutting. Bold lines, stickers to visually guide them to “cut through the stickers,” or fun and motivating pictures to cut towards. Remember that the sequence of cutting begins with tearing paper, then snipping, and cutting along a straight line and then a curved line. It isn’t until 5 years of age when children can developmentally cut a circle and other shapes. So what is most important is that children know what scissors are for, how to position their fingers, and can coordinate the movements with both hands. That is a complex skill that requires bilateral coordination and motor planning- it takes practice and guidance.

Cutting leaves, stems, and here- Lavender- can be a great way to practice scissor skills. The effort it takes to cut thicker items also helps to strengthen the palmar arch!

IMG_7361.jpg
 
IMG_0523.JPG

Wallpaper samples are the perfect thickness to practice cutting! Cutting on thicker paper like cardstock or wallpaper samples helps to slow down and develop the motor memory needed rather than cutting on thin paper that requires very little effort. This does require more persistence so is better for the child who has some experience cutting, to minimize frustration.

These are one of my most favorite tools ever to introduce scissor skills with sensory bins!

Snipping play dough is another super fun way to practice cutting. It requires many of the skills that we need to cut such as bilateral coordination. First by rolling the play dough into a long “snake” and then holding it with one hand, and cutting with the other. Here are some scissors we love for play dough:

These are the coolest safety scissors for kids! They actually cut paper really well!

Using tongs also helps kiddos with the separation of the sides of their hand. Pocket Full of Therapy has so many tongs and the options are endless to play around with tongs. We have even had a very fun dinner using tongs or child-chopsticks! It is such a novelty and a fun way to eat when you are only familiar with using a fork or spoon! Click on the picture to see some of my favorite tongs!

So tell me, what are some of your favorite ways to practice cutting? How do your kids or clients like to practice cutting? I used to do Pinterest-y crafts to practice but now I love to use natural materials like scraps of paper, flowers, cooked spaghetti, straws (they fly everywhere making for a fun cause and effect!)

Get OuTside: An OT's List of Favorite OuTdoor Activities

Inspired by the work of Richard Louv, author of Last Child in the Woods, as well as our beloved preschool, The Mountain School, being outside has become fundamental to my family. It may be that my attention to the need for this causes me to see more and more articles about the importance of fresh air and being outside or it may be that there actually are more articles being written about this topic. Nature Deprivation Disorder has been referred to and it walks a similar line with some of our common childhood ailments such as ADHD and Sensory Processing Disorder. It makes sense, and aligns with my education as an OT, that kids (adults too!) need to be outside. And we need to be outside for more than 20 minutes a day. Schools fear litigation that children might slip and fall on wet grass. Teachers lament the time it takes to put on coats and the mud that gets tracked inside. Parents don’t want to be cold and wet. Believe me, there are days I don’t want to be cold and wet and really just want to sit on the couch with a movie and a mug of tea. The important thing to remember, however, is that time outside has lasting effects. Here are some of the benefits of time spent in the great outdoors:

  • Vitamin D which promotes an uplifted mood and cellular growth

  • Being outside regulates circadian rhythms and promotes improved sleep

  • Our retinas need to see the sun to stimulate photoreceptors (this doesn’t mean looking at the sun) by allowing sunlight to reach these photoreceptors in the retina, it triggers our body to increase its temperature to an “awake state,” improve mood and cognitive functions, produce melatonin which we need to help regulate our circadian rhythms

  • Children learn appropriate risk taking with outdoor play. Without these opportunities, risk taking becomes skewed and children will take risks inappropriately because that is what the human body is made to do to learn how to modulate force, tension in our muscles to make things move, what our body needs to do to propel forward and stop- it all relates to taking risks with our body and it’s abilities

 
IMG_9156.jpg
 
  • When children play outside, they learn independence and problem solving skills. Without being under the ever-so-watchful eye of parents, they build their confidence and self-esteem while engaging with other children, falling and brushing it off, figuring out how to navigate a wobbly tree stump or balance on a balance beam at the park

 
IMG_0406.JPG
 

So what are some great outdoor activities that promote various elements of development? First and foremost, I am a proponent of getting outside any way that you can. If you have a little patio, use it without thinking it is too small. If you only have a driveway and no grass, that is okay as well! Exploring the nature that might be a short drive away provides endless opportunities for open-ended exploration and even simple, typical childhood activities like digging in the sand work to build shoulder strength, increase proprioceptive feedback, help children learn body awareness, can build the vestibular sense as they bend down and stand up again. See how many things go into one task?! This is the part about occupational therapy that I just love- breaking down an activity to really dissect just exactly IS going on in the body! So let me give you some other examples of ways to build skills…

Take a nature walk and bring along some children’s scissors to snip little cuttings of trees and plants. You can give kiddos a bucket to fill so then they are crossing midline to drop their cuttings into the bucket opposite of the hand they cut, or find an interesting branch and bring along some rubber bands. Then they can tuck their treasures into the rubber bands for a nature journey stick. This is a fun way to build scissor skills, even if you aren’t using scissors and they pick up various treasures they find on the ground, children are practicing modulating their grasp patterns based on the size and weight of the treasure!

Don’t let rain stop you! I love the way sidewalk chalk feels and looks on wet pavement. This is a great way to get outside even in the rain and work on some directional lines, open-ended drawing, or even some writing!

sidewalk+chalk+rain.jpg

Visual memory is a skill that we use daily to be able to quickly recognize salient features and our brain can recognize the parts without seeing the whole. We also use it to remember sequences of numbers and letters. As we get older, this becomes more automatic. For young kiddos just learning their shapes, letters, and numbers you can build this skill with fun games that challenge the brain to “take a picture.” This is another way to get outside and encourage reluctant kiddos to explore and collect some treasures. Here is what you need:

  • a cloth (bandana or even an extra sweatshirt will do)

  • something to cover items that you find (this can be another cloth or find a branch with some leaves on it that would be large enough to cover the items)

    Gather 5 to 10 objects around without the kids seeing what you are collecting. For younger kids you will want just 5 but for older kiddos, it is more challenging with more objects. Arrange the objects on a cloth and ask the kids to “take a picture” for 30 seconds and try to remember the objects. You can even add a challenge to arrange them in an order and ask the kids to remember the order when they are arranging theirs. You will then cover the objects and ask the kids to go find the objects and then meet back and make their own arrangements. This provides an opportunity to not only work on visual memory skills but to talk about elements of nature and the sensory aspects of the items.

 
ice_mobile_940x627.jpg
 

If you live where it snows or freezes overnight, these ice mobiles are so beautiful to make and can be a great way to work on fine motor skills and talk about water freezing to ice. Gather various containers and fill with water, leaving enough room to allow for expansion as it freezes. Gather natural materials to place in the water and a piece of string to hang once it has frozen. Leave it outside overnight and check on it in the morning to hang and watch it melt as the day warms up (hopefully!) You can also add food coloring- just be mindful of where you hang it as the mobile melts and drips. You can also make ice orbs by filling a balloon with water and helping kiddos tie it, then leave it outside to freeze. In the morning, cut the top and peel away the balloon (be sure to put these pieces in the garbage!) These will glitter and glisten in the sunlight!

Another activity for the snow that is so fun is writing or drawing in the snow with food coloring and a turkey baster or basting brush. I also did this with Jello because that was all that we had on hand, but in hindsight I’d avoid red because it looks a bit like a crime scene!

 
IMG_0936.JPG
 

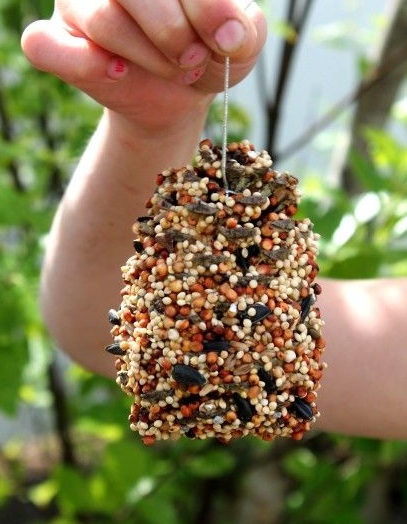
We also love making bird feeders. It is so easy and there are many things you can use to make one from a hallowed out orange or avocado to serve as boats for bird seed, stringing cheerios on a pipe cleaner and hanging on a tree or our personal favorite, rolling a pinecone in bird seed. Here’s what you need:

  • An assortment of pinecones

  • Twine to tie at the top- loop it around a few times and tie a tight knot

  • A knife or tongue depressor for spreading

  • Nut butter or vegetable shortening

  • Bird seed in a shallow bowl or pie tin

    You will tie the twine on the pinecone, spread the nut butter or vegetable shortening on (this is a great way to work on bilateral coordination and proprioception- it can be tricky to apply enough force to get it spread!), then roll the pinecone in the bird seed! Voila!

15eb89803226c573d168d185844a843d.jpg

Sensory bins are great for outdoors too and my favorite are those that the birds enjoy also. One of our favorites is a cranberry bog. Fill a large under-bed storage box or a water table with cranberries and water and add strawberry baskets, scoops, and cups and the kids have so much fun. These are also fun to pop when they fall on the ground but be mindful that the cranberries could stain the concrete!

 
IMG_9020.jpg
 

I hope you find these activities as enjoyable as we have! Just remember, being outside is so life-giving on so many levels. It builds skills, boosts your mood, promotes healthy sleep, and builds connection with others and the environment. Know that you are doing your kids and yourself a huge service by getting outside each day, even if just briefly. Notice the sky, the sounds, the smells. Bringing these bits of mindfulness and awareness to the forefront will build lasting habits for a love and appreciation of slowing down and being outside.


References

Brussoni et al. (2015). What is the Relationship Between Risky Outdoor Play and Health in Children? A Systematic Review. International Journal of Environmental Research Public Health. 12(6):6423-54. doi: 10.3390/ijerph120606423.

Dowdell, K., Gray, T. & Malone, K. (2011). Nature and its Influence on Children’s Outdoor Play. Australian Journal of Outdoor Education. 15(2), 24-35.

Little, Helen and Wyver, Shirley. Outdoor play: does avoiding the risks reduce the benefits? [online]. Australian Journal of Early Childhood, Vol. 33, No. 2, June 2008: 33-40. Availability: <https://search.informit.com.au/documentSummary;dn=200808182;res=IELAPA> 

Lockley, S., Arendt, J., & Skene, D. (2007). Visual Impairments and Circadian Rhythm Disorders. Dialogues Clinical Neuroscience. 9(3):301-14.

Is Handwriting Instruction a Thing of the Past?

In today’s “digital age” there are many people who might say, “we don’t need to teach handwriting- kids will be typing everything.” Or for the child who has messy illegible handwriting, “it’s okay, he can type everything.” I’m going to delve into this a bit more based on what research is telling us and what we can do to help children with dysgraphia or illegible handwriting. When speaking about “handwriting,” I include printing and cursive and use “handwriting” as a global term for both.

IMG_0532.jpg

Studies have found that legibility improves with handwriting instruction compared to a control group that did not receive formal handwriting instruction. When children received handwriting instruction, their pre-reading skills including letter identification also improved. It is also fascinating to read studies about functional MRIs that compare which parts of the brain are firing when engaging in cursive writing compared to typing. Cursive requires the activation of multiple centers of the brain. When multiple centers are “lit up,” the left and right hemispheres of the brain are communicating. When this happens, neural pathways are being strengthened. In the case of cursive, this helps to strengthen pathways that help with specialization, focus, and spills over to enhanced reading and writing.

Studies have also found that children with improved fine motor skills achieve higher reading and math scores throughout their educational career- even on the SAT and ACT!


So what can you do to help your child or client with handwriting?

Handwriting should always be fun for young children! It is so exciting for them to be able to begin to form recognizable shapes that eventually become the letters of their name, then the letters of their family members, and as they develop reading skills, they are soon able to write down their thoughts and turn them into stories!

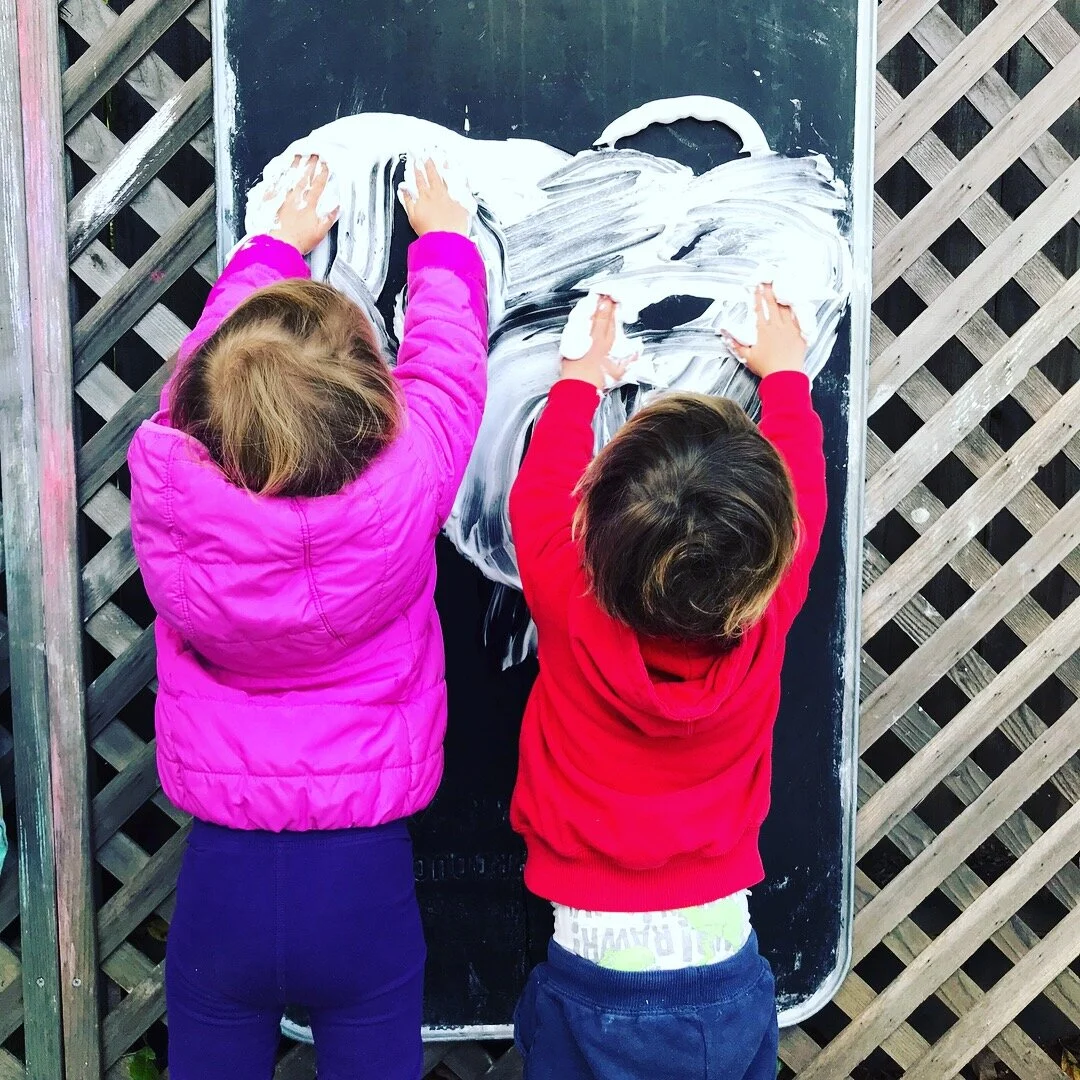
When children are young, the most important thing to remember before focusing on drawing lines and shapes is developing their fingers! Building foundational skills such as hand strength, finger dexterity, and in-hand manipulation skills is critical before children are expected to begin to write letters. How do you do this? Use their fingers to draw horizontal, vertical, and diagonal lines in shaving cream, yogurt, sand trays. Start to make big circles on an easel with shaving cream or finger paints. Play with play dough and roll out the lines and circles, hide objects in the play dough to work the fingers in a pincer grasp. Practice picking up small items with a pincer grasp. This can be anything from Cheerios to Perler Beads to stringing beads on a lace.

 
IMG_5923.jpg
 

Here is the developmental sequence of simple lines and shapes, but remember this is a range so some children may do these things earlier or some later, and that is normal, just like there is a range for walking. If your child is 5 and still has difficulty with some of the lines and shapes that are commonly mastered by age 2 or 3, that is an example of when you might consider contacting an OT for some intervention…

Vertical Line – Age 2 imitates, age 3 copies/masters

Horizontal Line – Age 2 1/2 imitates, age 3 copies/masters

Circle – Age 2 1/2 imitates, 3 copies/masters

Cross (+) – Age 3 1/2 imitates, age 4 copies

Square – Age 4

Right/Left Diagonal Line – Age 4 1/2

X – Age 5

Triangle - Age 5

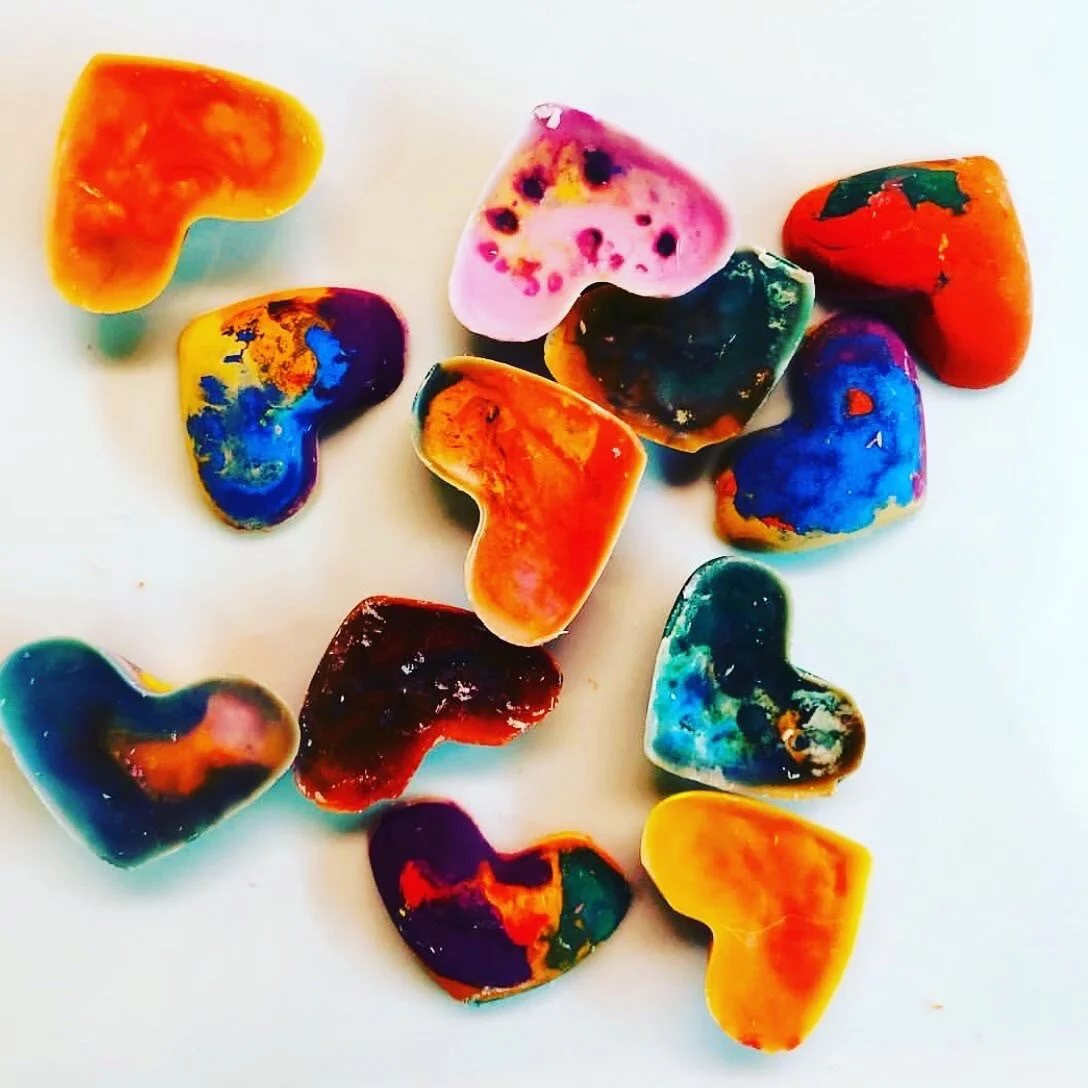
So given these norms, consider when a preschool or pre-kinder program is expecting children ages 3 and 4 to hold an adult size pencil and begin to write letters with intersecting and diagonal lines. That can be pretty frustrating for kiddos. If a child is showing interest in writing their name and the letters are more complex, follow their lead but encourage writing it with their fingers in finger paint or shaving cream rather than with a large adult-sized pencil. Use broken crayons or crayon rocks to encourage a functional grasp rather than holding it with the entire palm, if they want to use a pencil, use a golf pencil to help facilitate proper grasp patterns.

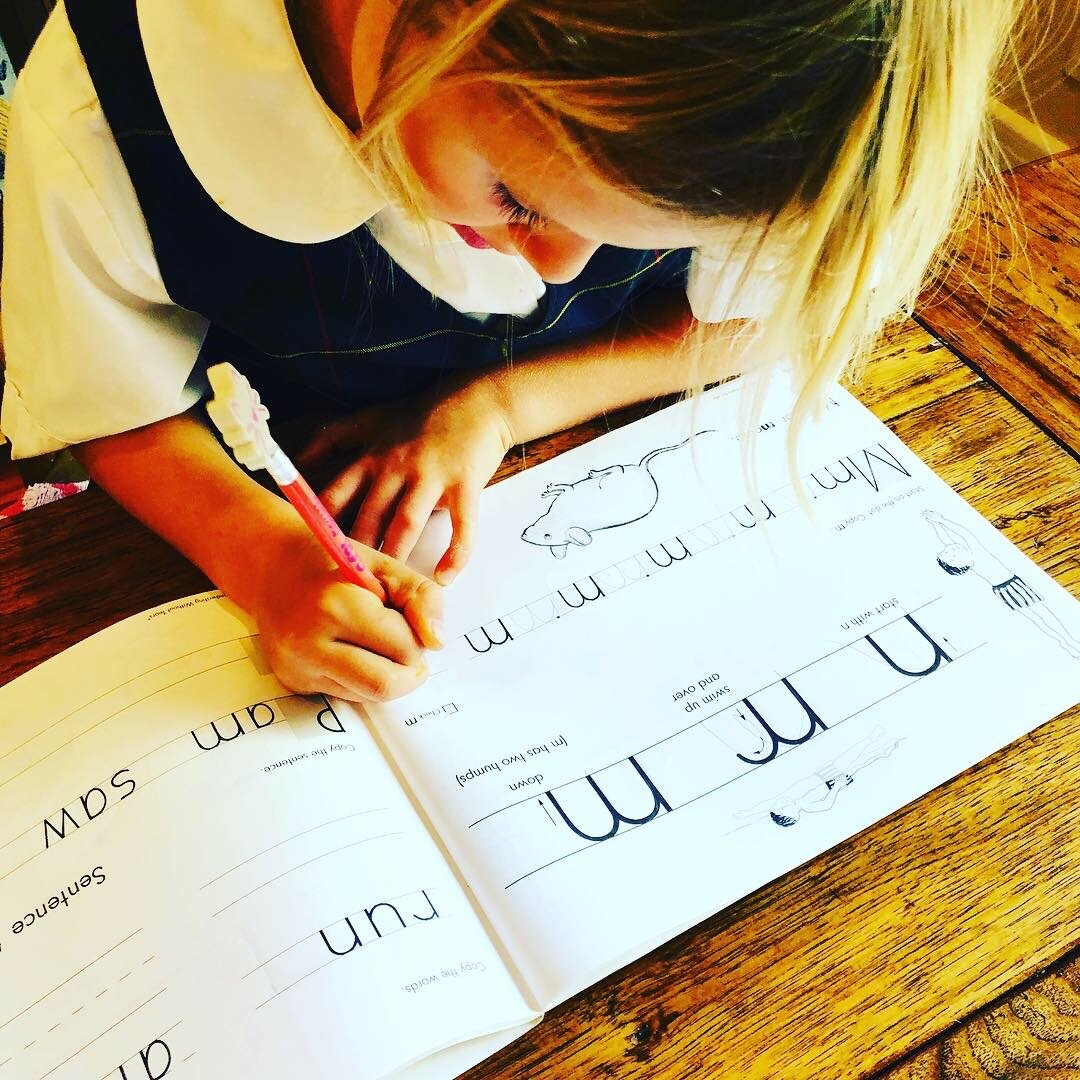
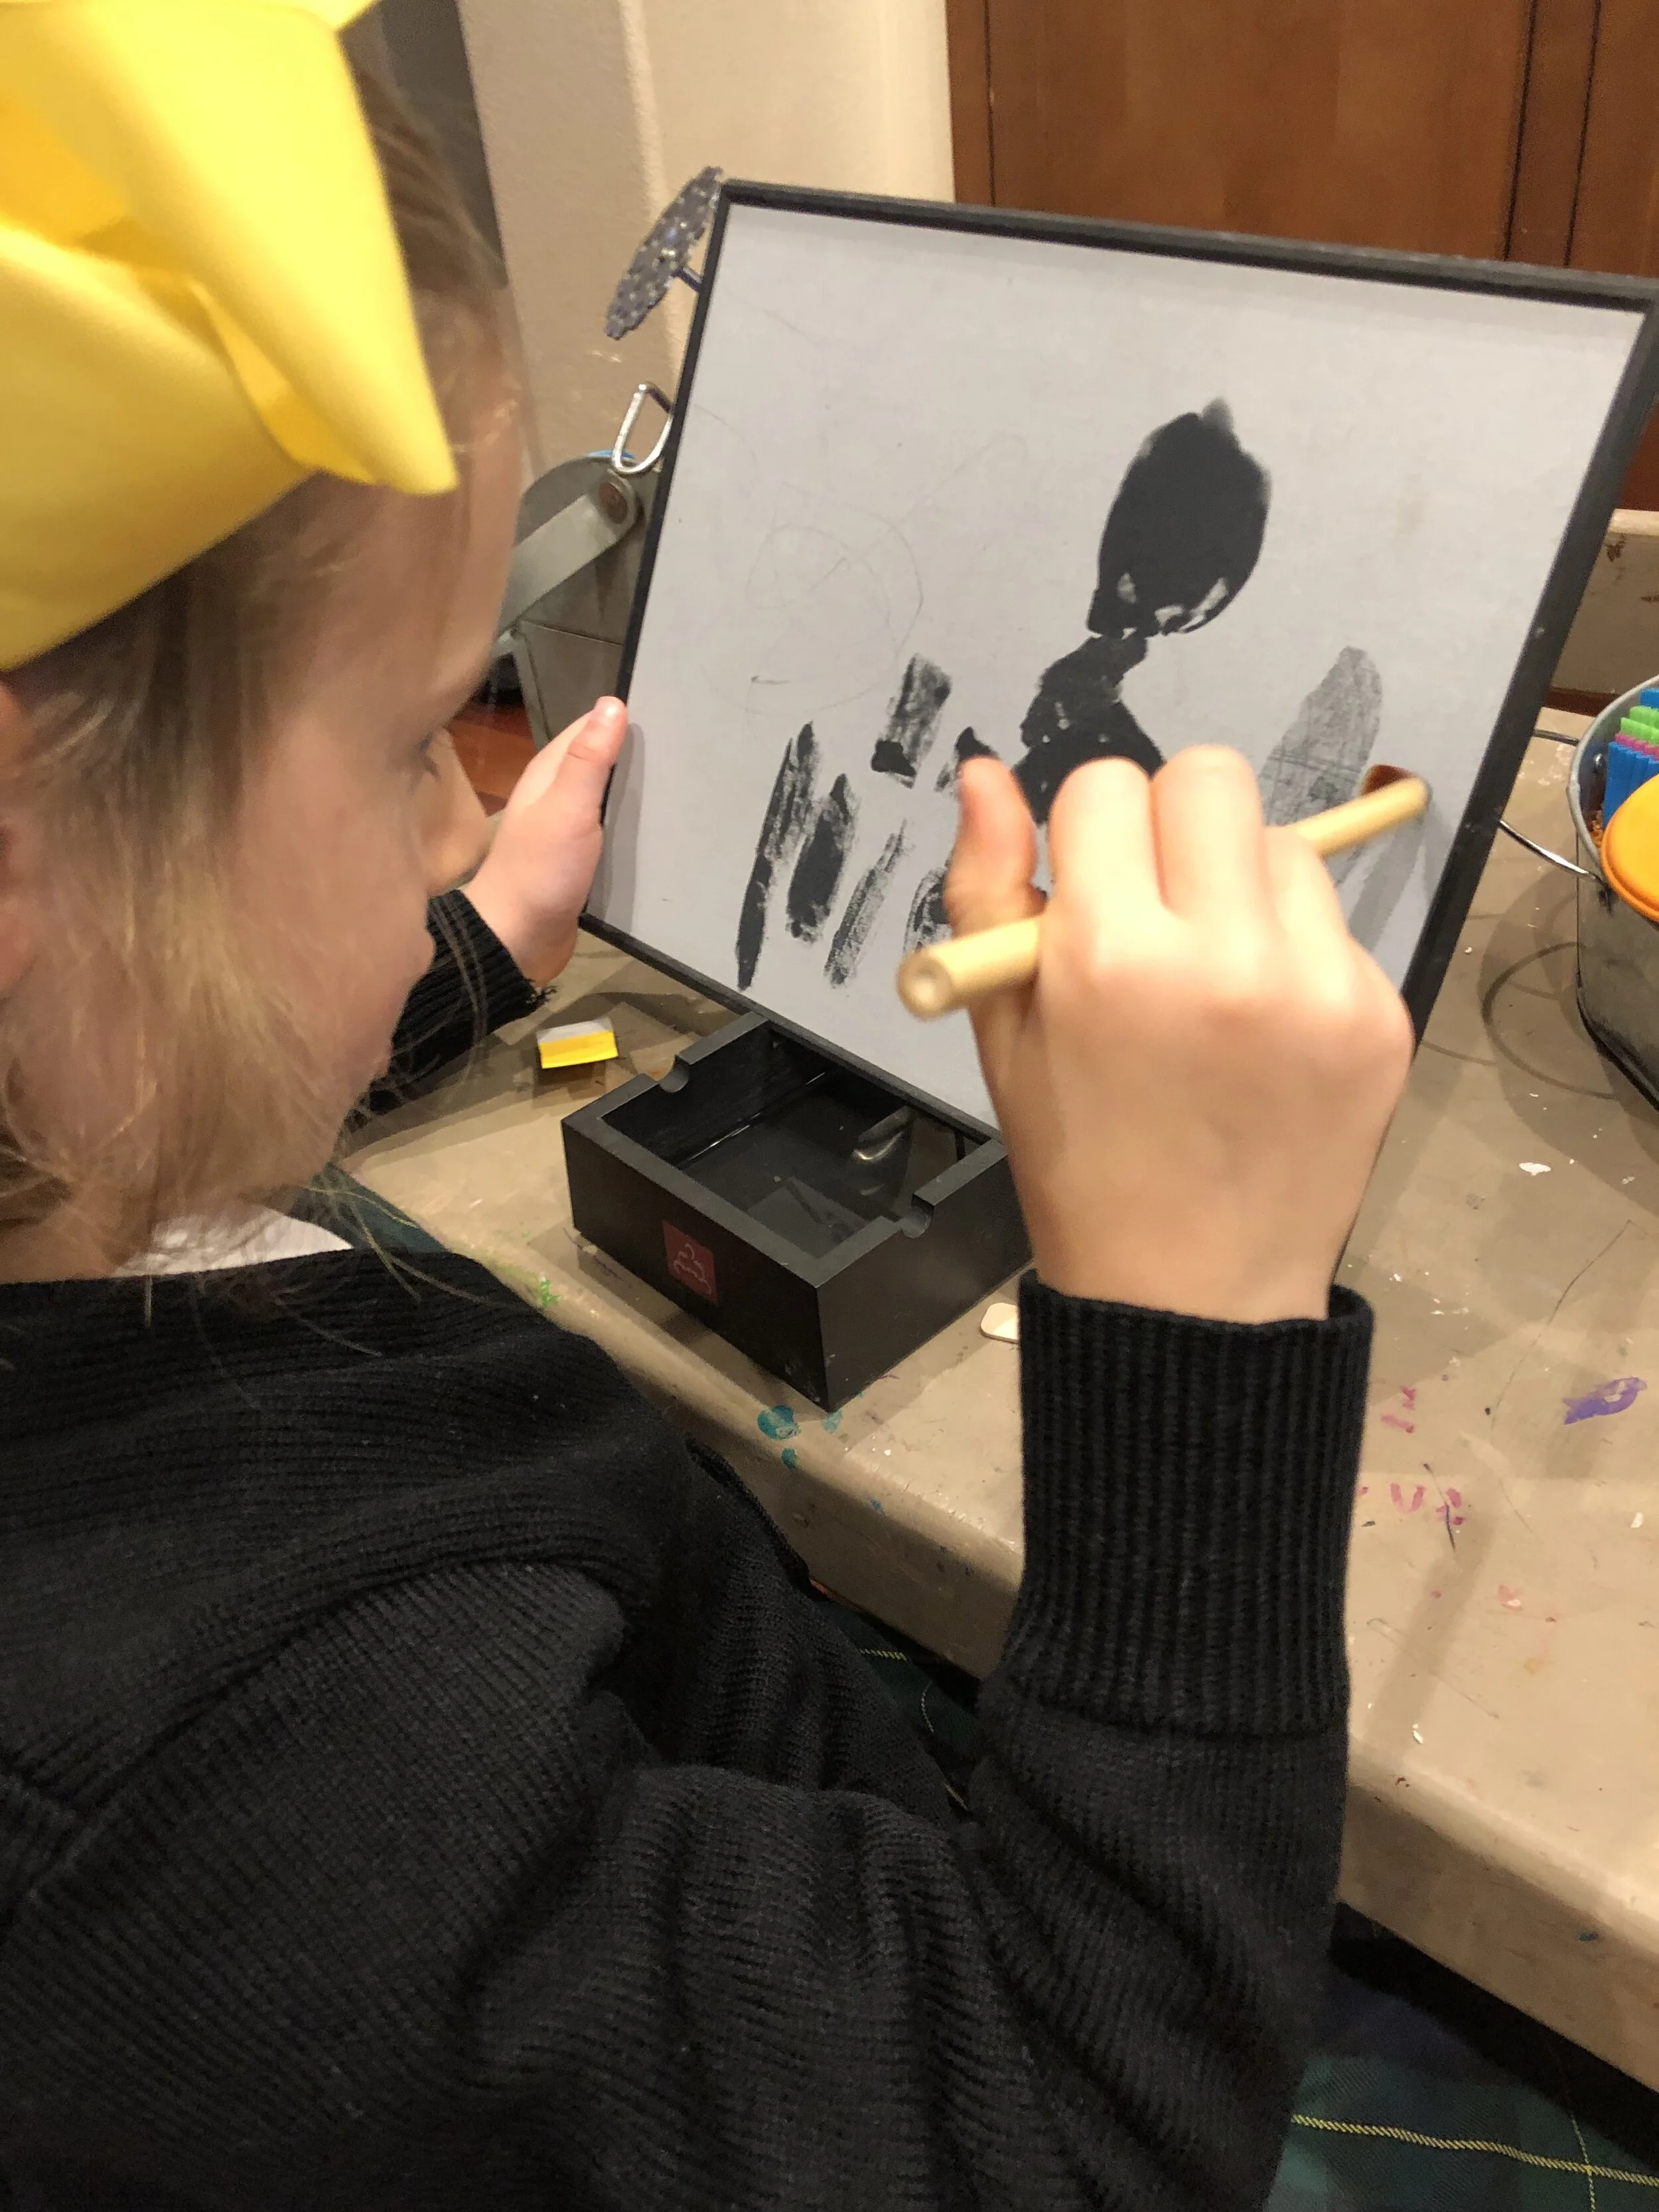
Now, I’ve worked with children who REALLY want to start writing. They may have an older sibling who does “homework” or they just love letters and numbers. My favorite ways to do this are away from paper and pencil. Instead, write letters on a chalkboard with small pieces of chalk so not only are they practicing proper pencil grips but they are also building shoulder strength by writing on a vertical surface. I take the focus out of the formation but will give gentle reminders to “start at the top” and sing a fun song so that they begin to build proper writing habits. When children are in pre-k, you can begin to teach proper letter formation with fun activities like building the letters out of wood pieces, play dough, writing in sidewalk chalk, and even some fun work books that help build their habits if the interest is theirs, not the adult’s.

These are my go-to, absolute favorite ways to begin to work on letter formation with the 3-5 age group (not sponsored, just my favorites now for 10+ years!):

Some other ways that you can begin to build in-hand manipulation skills that will help with holding a pencil correctly and having good motor control for writing is picking up coins and placing them in a piggy bank. As children get more skilled with this, challenge them to hold a few coins in their palm while they move one to their thumb and index finger to place it in the slot without using their other hand. This in-hand manipulation skill is essential for writing and cutting because the child is then able to “separate” the sides of the hand and use the thumb and index for small movements while stabilizing the other fingers against the palm, just like we do when we write!

My favorite way to do this is cutting a slit in a tennis ball and filling it with pennies- kids get a kick out of “tennis ball man!”

Tennis ball man works on hand strength and finger grasp patterns!

Tennis ball man works on hand strength and finger grasp patterns!

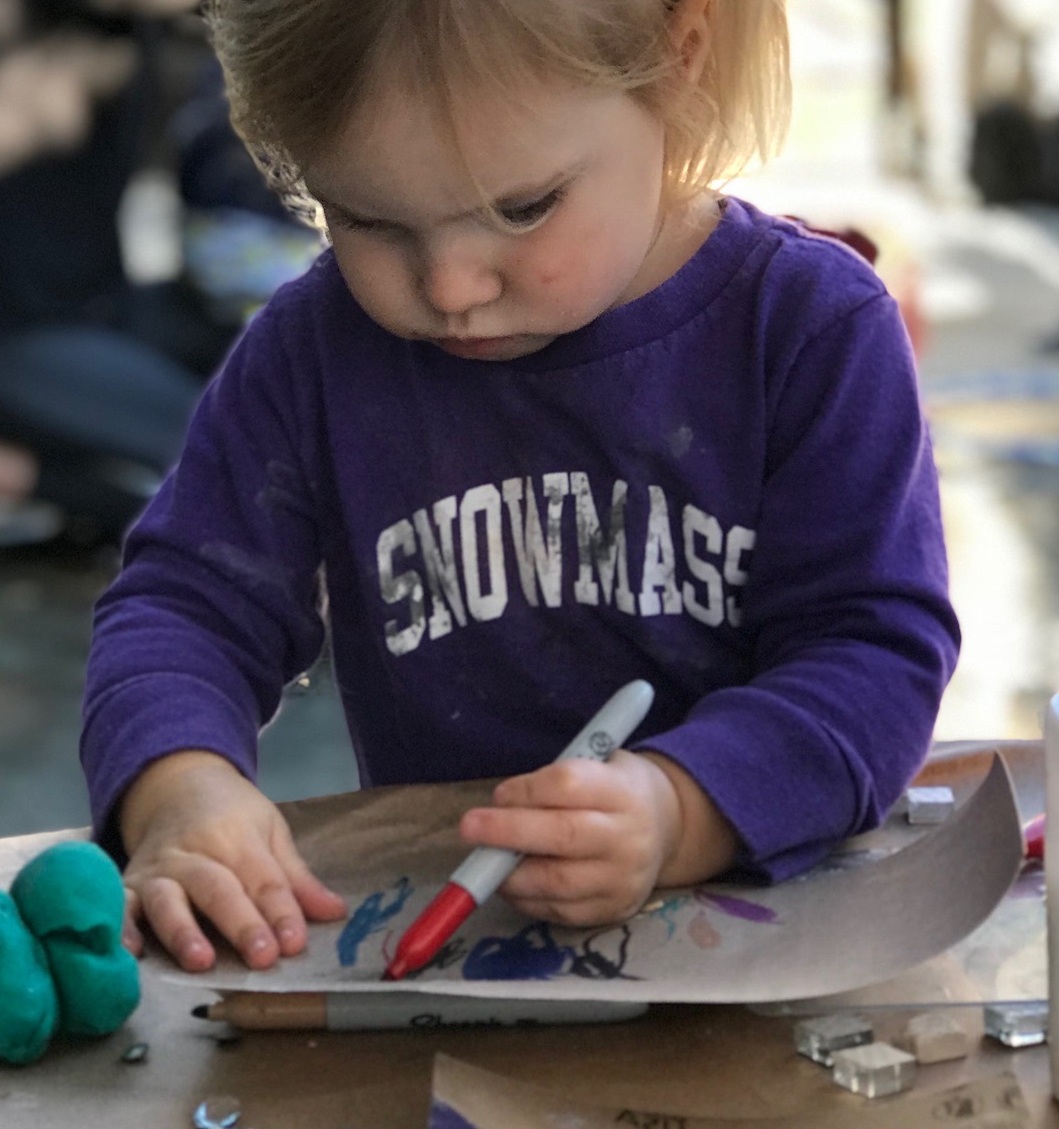
Using a multi-sensory approach not only keeps writing fun, but it also helps strengthen motor memory and automaticity. Here are some fun ways that we have added a multi-sensory component…

IMG_9193.jpg
 
IMG_6291.jpg
IMG_8369.jpg

Engage children in meaningful activities for writing like making their own placemat or place to sit (like a carpet square but choose a heavy-weight fabric such as canvas).

If you have an older child or client who has illegible writing, it does not mean that all hope is lost. Going back to these foundational skill components, building new habits, and continuing to engage them in meaningful activities can help to remediate their handwriting. When the child does become increasingly frustrated and develops a “block” about writing, take a step back and engage them in fun activities that work on the skills needed like hand strength, fine motor dexterity, and find small fun ways to write rather than a drill approach that will further frustrate them. In those cases, for longer assignments, word processing would be a better option but handwriting should continue to be a part of their life to strengthen those neural pathways. If those pathways are not used, they will get weaker over time. Stay tuned for a post about typing programs at a later date….

When children practice writing with activities that are meaningful and they have some ownership of, not only will they enjoy it more and be more motivated, but you will see performance improve and help to develop a frustration-free love of writing and drawing!


References

Klemm, William. (2013, March 14). Why Writing by Hand Could Make You Smarter. Psychology Today. Retrieved from https://www.psychologytoday.com/us/blog/memory-medic/201303/why-writing-hand-could-make-you-smarter

Renaud, Jean-Paul. (2012, January 18). Good Handwriting and Good Grades: FIU Researcher Finds New Link. FIU Magazine. Retrieved from https://news.fiu.edu/2012/01/good-handwriting-and-good-grades-fiu-researcher-finds-new-link/34934

Sang-Min, Seo. (2018). The Effect of Fine Motor Skills on Handwriting Legibility in Preschool Age Children. Journal of Physical Therapy Science, 30(2), 324-327.

Zylstra, S. E., & Pfeiffer, B. (2016). Effectiveness of a Handwriting Intervention With At-risk Kindergarteners. American Journal of Occupational Therapy, 70, 7003220020. http://dx.doi.org/10.5014/ajot.2016.018820

Building Shoulder Strength

So I’ve talked about hand strength but what about strengthening the shoulders? In the therapy world, we refer to it as strengthening the “shoulder girdle.” These are the muscles that support the shoulder. Without strength of these big muscles, it is incredibly difficult to have controlled movements of the hand and fingers. There are so many fun and easy ways to build shoulder strength, but first I’ll give you some examples of HOW this plays out in daily activities. Here are some activities that require strength and stability at the shoulder girdle:

  • Carrying plates and cups requires shoulder strength and stability to prevent spills

  • Effectively washing one’s own hair

  • Using the fingers for skilled movements like buttoning, writing, holding onto a fork or toothbrush requires adequate strength and stability at the shoulder girdle

  • Catching a ball and throwing a ball

  • Drawing on an easel

  • Crossing across one’s body to reach and manipulate or transfer objects

  • Building with Legos

  • Lacing beads on a string or wire requires this stability- if a child lacks strength and stability you might see them lean their forearm on a table or surface or against their body

  • Scooping items and digging in the sand

  • Skilled cutting also requires stability of the shoulder girdle


Developing the muscles at the shoulder girdle begins with tummy time in infancy. Once children develop a strong c ore which includes the shoulder, they begin to sit, reach, and manipulate objects. They begin to feed themselves using a raking motion with their fingers. Infants begin to transfer objects between their hands and reach across their bodies. As children get older they begin to develop ball control skills such as throwing and catching and increased self-help skills like buttoning, zipping, and eventually tying shoes. All of these skills only become possible when the core and shoulder girdle is strong.

While this begins in infancy, children are never too old to be on the floor, playing games on their tummies, crawling through tunnels, building forts encouraging playing on the floor in a prone position, scootering on their tummy, engaging in animal walks like crab walks, wheelbarrow races (our favorite is on our way to brush teeth or put on jammies).

As kiddos get older, yoga is a great way to build strength at the shoulder girdle and core. Encouraging stabilization of the shoulders without allowing the shoulder blades to “wing out” while doing yoga or even while cutting with scissors helps to engage the muscles at the shoulder girdle. Throwing balls at a target, basketball, even reaching up to pop bubbles is a great way to work on building shoulder strength.

Here are a few of our other favorite activities to build shoulder strength:

Zoom ball is an absolute staple in my therapy bag! This is a super fun game for building shoulder strength and to work on motor planning. You can even add an extra challenge by trying to do it with your feet while sitting and engaging the core muscles!

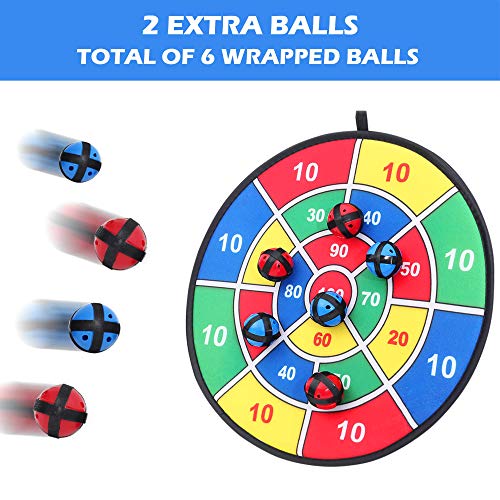
Throwing balls, especially at a target, helps to recruit the muscles of the shoulder and work on visual motor coordination. Here are also some fun ways to make a DIY version at home:


Making a bow and arrow is a great way to get outside and go on a treasure hunt to find the perfect stick! With some yarn, you have a simple bow and arrow and a fun way to work on shoulder stability. Here is a link from a great resource out there. Be sure to click on the picture to see the full post and some other great activities to try at home!

Another easy activity to try at home is making a ball drop or ball run out of toilet paper and paper towel rolls. This is so easy and with older kiddos, it can even help to develop motor planning skills! Putting things on a vertical surface builds shoulder strength and also builds visual skills because the eyes adjust to working in a different plane rather than looking down- put a fun spin on homework and try taping it to the wall!

Some fun ways to work on shoulder strength and stability are activities done in a quadruped position- crawling through tunnels, yoga cat and cow poses, pretending to be a tunnel for cars or even younger siblings!

IMG_0107.JPG

These cards, Yoga Pretzels, have been a favorite for years! They are easy and fun ways to integrate yoga into an OT practice, or at home for a fun and easy invitation and brain break. I recommend these to teachers too to have on hand for movement breaks, a quiet (there may be some giggles) free explore activity, or to build motor perception skills as part of a physical education curriculum. There are partner poses as well which require some motor planning, working together, and builds communication skills.

So tell me, what are some favorite ways that your kiddos play on their tummy, games that encourage reaching and stretching?


References

Flatters et al., The Relationship Between a Child’s Postural Stability and Manual Dexterity. Experimental Brain Research. 2014; 232(9): 2907–2917

Van der Fits IB, Otten E, Klip AW, Van Eykern LA, Hadders-Algra M. The Development of Postural Adjustments During Reaching in 6- to 18-month-old Infants. Evidence for Two Transitions. Experimental Brain Research. 1999 Jun; 126(4):517-28.

Why Do We Care About Hand Strength?

IMG_9139.jpg

An important aspect of many fine motor skills is hand strength. Hand strength plays a critical role in writing, holding a utensil for eating, writing or coloring, using scissors, opening containers, tying shoes, and even doing one’s hair. When children have decreased hand strength, all of these activities become difficult. Grip strength has been found to be a strong correlate with legible writing. And did you know that illegible writing can hurt a student’s score on the SAT? You might say that we are moving away from writing to typing and pen and paper tasks are archaic, but school work is still largely done on paper. Studies have found that students who write versus type, express more ideas. They also write more prolifically than those who keyboard. The connection that I value the most is that writing helps build neural connections in the brain and helps both hemispheres of the brain communicate. Strengthening those pathways will help as we age to stay cognitively sharp!

Here are some signs that your child might have decreased hand strength:

  • Decreased interest in fine motor games and activities

  • Poor motor control when writing or coloring

  • Scissors appear to “fall out of the hands”

  • Switching hands while writing, coloring, or cutting

  • Holding a utensil with all fingers to eat

  • Unable to maintain grip on a button while buttoning

  • Difficulty zipping up a jacket or backpack

  • Unable to open food containers or unscrew lids

  • Unable to squeeze a glue bottle

  • Frequently dropping items out of fingers

  • Unable to grasp elastic of pants or socks to pull them up

  • Writing or coloring with all fingers wrapped around the writing instrument


So what can you do to help your child with their hand strength? Well first, play, play, play! Building hand strength should be fun because so many activities that children enjoy actually help to build hand strength! Here are a few of my favorite activities:

Squeezing Games and Activities:

Think turkey basters, tongs, clothespins, and other items you have around the house. One of my kiddos’ favorite activities is eating dinner with tongs or kid-friendly chopsticks to eat their food instead of using a fork. You can make cleaning up toys fun by using tongs to pick up toys and have a race! Set up a fun activity for your child to use a turkey baster to blow a small ball of rolled up tissue paper or a cotton ball into a “goal.”

IMG_1717.JPG

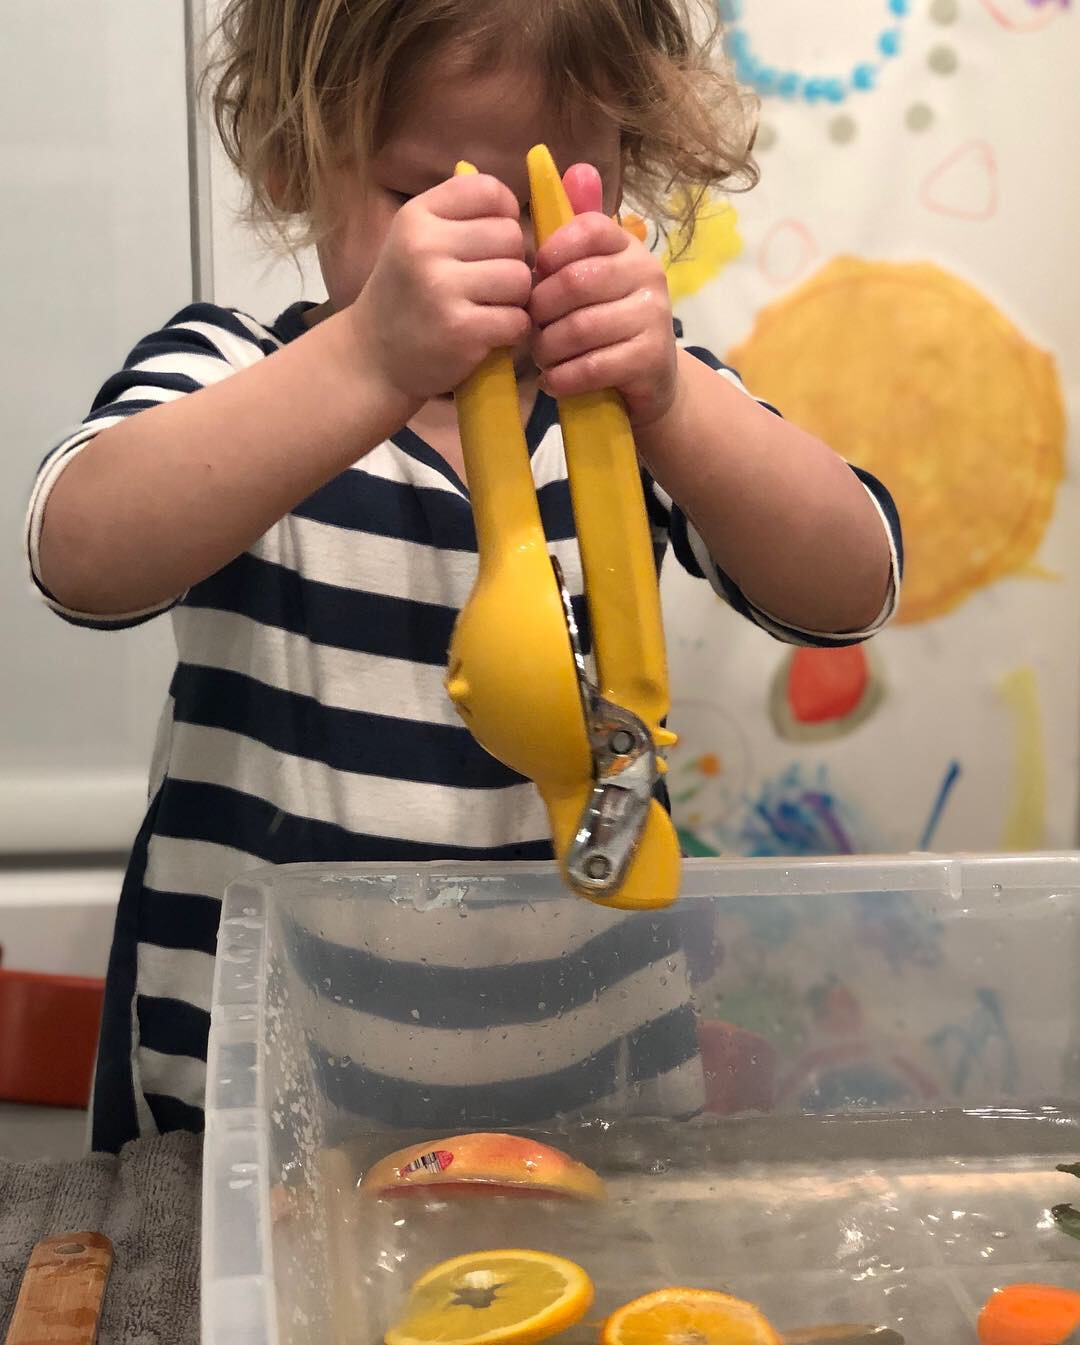
You can involve your kiddos in the kitchen or set out a citrus sensory bin with a lemon or orange squeezer!

Another favorite in our house is open-ended art projects like making collages by squeezing glue out of a bottle and punching shapes from old maps, magazines, greeting cards with hole and shape punches. Tearing paper and washi tape is also another great way to work on hand strength. The tearing takes some problem solving or “motor planning” to figure out exactly how to tear without pulling the paper apart.

Linked below are some of my favorite items for building hand strength:

These come in so many fun shapes and are a great way to build hand strength while making a fun project!

Meatball tongs! Who would think this would be great for hand strength?! This helps develop hand strength by helping kids separate the sides of the hand as you do when cutting as well as holding your pinky and ring finger tucked in while you write! Use these for sensory bins, scooping water beads, in the bathtub to scoop up bubbles, outside to dig in the sand, set out some pom-poms and a jar to fill it up for a quick and easy quiet-time activity.


Push/Pull for Hand Strength:

Pushing on a rolling pin to pop packing bubbles or rolling out play dough is a great way to building hand strength. You can also build hand strength with pulling activities using a grip around the object. Here are some great activities that require pushing and pulling…

This is such a fun way to work on hand strength and also tie in some visual motor skills! Kids have so much fun aiming soft pom-poms at a pyramid of plastic cups!

Here is a fun DIY acorn slingshot from one of my favorite therapy websites:

Another favorite and something that is ALWAYS in my therapy bag is pop tubes! They are also so fun for developing speech and making different sounds by speaking into them.

Monkey bars, climbing trees, rock climbing, pulling up a rope on a play structure or slide (yep, going up the “wrong” way) are also great ways to build hand strength. Involving your kiddo in cooking like stirring batter, and if you dare, making slime are great ways to work on hand strength. Believe it or not, slime does have a benefit!

IMG_1702.JPG

An easy invitation of bubble wrap and rolling pins is a great way to build hand strength and language skills!

Pop beads are another favorite in my therapy bag! My daughter loves these and can spend an hour creating with pop beads. They can be a little difficult initially because they truly do require some good hand strength.


The best tools for building hand strength truly are at your fingertips. Weight bearing activities like crawling through tunnels, crab walking, wheel barrow walks… these are all great ways to build hand strength as well as upper extremity strength. So spend some time on the floor regardless of your child’s age and have fun playing!


References

Alaniz, M. et al. Hand Strength, Handwriting, and Functional Skills in Children with Autism. American Journal of Occupational Therapy. 2015, 69, 1-9.

Bounds, Gwendolyn. (2010, October 5). How Handwriting Trains the Brain. The Wall Street Journal.

An OT's Favorites....

Screen Shot 2019-01-14 at 5.13.24 PM.png

During the past month of December, I had so much fun putting together a holiday gift guide over on my Instagram feed. Not only did it get me thinking about our favorite activities here at home, but I also dug through my therapy bag for my go-to items. I love sharing these items and games and their developmental benefit so more and more of you, and your children, can enjoy them! I have decided to put them all together on this post so you can refer back to it in case you ever need a birthday gift or holiday gift idea!

Have fun reading along!!!

I hope you enjoy these favorites as much as we do!!!

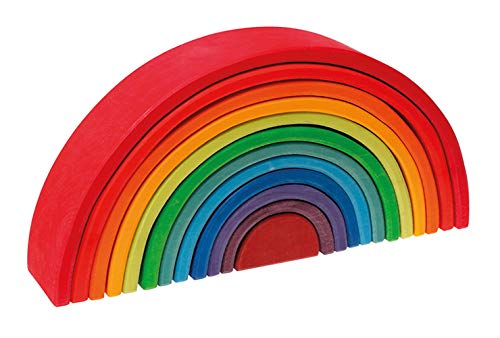
These Grimm’s rainbows are such a show-stopper! Not only are they beautiful, this is a toy you will want to keep forever. It can be used in so many different way from stacking, to a road for cars, to a swing for dolls. This is certainly one to pass on to generations!

Where’s Waldo is one of my absolute go-tos to work on visual perceptual skills. It is so fun for children to search for Waldo in this classic book. It works on figure-ground discrimination which is an important skill children use in school daily when they are reading, completing math problems, or searching for something in their desk or background.

Smencils are a favorite in my therapy bag. Children love using these for writing! Different scents can be stimulating for children (and also noxious to others). You have probably smelled something that brought back memories. Research has linked smells and memory due to the proximity of receptors to the amygdala and the hippocampus (our emotional and memory centers of the brain) which can be an added benefit if children are working on spelling words with a smelly pencil and then use it again for their spelling test!

These ball pit balls can be used for such a wide range of ages. I first bought some for my daughter at 5 months of age and we filled a laundry basket with them for a mini ball-pit for her. We have used them for 5 years now in a plastic swimming pool on a rainy day, in the bathtub, in a bounce house, for rolling games and color recognition, and bounced them on a parachute! These are also super easy to wash in a front-loading washing machine to keep them sanitary!

This Hoberman Sphere can still be found at toy stores and is so meditative to play with. We have ours in our “calming basket.” It is also a fun toy for a car ride. We love playing catch with this and there are even instructions on how to make some pretty complex shapes with it (which I haven’t quite mastered yet!)

I want one of these! What a fun birthday gift for the 6+ crew! It would surely be a hit and inspire hours of creativity. I just love that it brings something that is somewhat unique to the home for easy access rather than needing to go to an art studio or paint-your-own-pottery studio!

These play dough tools are always in my therapy bag. They are so great for working on hand and finger strength. They also help children develop motor planning skills. I have worked with a number of children who struggle to figure out how it works so the problem solving and recruiting the correct amount of strength to extrude the dough is half the fun. Then using the dough for open-ended play can lend itself to opportunities to work on language, turn-taking, setting up a pretend restaurant, or making a person out of play dough!

Sneaky Snacky Squirrel is a favorite game to play with kiddos learning their colors and working on hand strength. You use the squirrel to pick up the acorns and place them on your tree stump. This also requires proprioception to know just how hard or gently you need to place the acorn in the hole. Some children might try to shove it in, others just place it on the tree stump and it rolls off. That skill carries over to so many tasks we do daily! This is a fun way to practice it!

Simon is another favorite game for the older crowd. This works on visual memory and the difficulty increases as you get more correct. I played this as a child and loved it! This also helps children with their visual memory so they can remember sequences and retrieve it quickly.

Rush Hour is a super fun game that also helps with visual discrimination and taps into a child’s ability to use logic to figure out the traffic jam. Great for the 8+ crowd and their parents!

Pattern Play is a favorite! Thanks to my friend Mary, over at www.childrenslitlove.com she introduced us to this game! The blocks are beautiful and this game is perfect for developing motor planning and problem solving skills as well as visual discrimination. They are also beautiful blocks just for stacking and building if the designs feel too complicated for your child. This is great for the 5+ crowd, although some children a bit younger with strong visual skills might be able to do some of the designs as well!

Here are some of my favorites for more gross motor activities and Spooner Boards are at the top of my list! These are light weight and so fun for kids to stand on and balance, sit and work on weight shifting, lay on or even use as a tunnel for their toys when it is inverted! This is a hit for so many age groups as well!

There are so many great swings on the market at reasonable prices! I love this one because a child can lay on it, stand on it and practice moving the swing side-to-side, or multiple children can sit on it and work together to move it fast or slow. What a great way to work on language and teamwork skills!

How beautiful are these play silks from Sarah’s Silks? I love this for dramatic play, building forts, capes, making tunnels for crawling under, the options are really endless! This is one of those “toys” that you would have forever to pass on to generations!

Magnetic Tiles are an absolute favorite in my house! My kids have loved these for years now. From as young at 18 months to as old as 10 or 12, children love these and can do so many things with them! They are great for problem solving, open-ended play, and imaginative play.

Mini Squigz are so much fun for building, playing in the bathtub, even on an airplane ride! They can be used for color sorting and simple math too!

Sensory Bins- What are they good for, other than a mess?

IMG_9727.jpg

I know, I know, many of you hear the words “sensory bin” and you run the other direction. Others get the dust buster handy and dive right in. So, what is the benefit of sensory bins anyways?

Sensory bins are a favorite activity of mine both at home with my children, in clinical practice, and they are a big hit at Tot Group! Sensory bins can be put together very quickly with common household materials, and can be stored away easily and pulled out for a rainy day activity or a quick way to make learning more fun!

When your child is engaging with a sensory bin the first sense they are using is their tactile sense. Our skin has so many receptors and these receptors in our fingers send messages to the brain. Think about when you are digging through your purse or diaper bag for something. It is not your vision that you are using, it is your tactile sense. It is that ability to feel something and the brain to know what it is without looking at it that helps us with many tasks. Buttoning, picking up items in a drawer, even holding a pencil and writing relies heavily on tactile perception. I won’t get into the details of proprioception here but that is also a part of tactile perception through haptic perception.

When children have poor tactile modulation or are hyper- or hypo- sensitive to tactile input such as glue or sand, or not realizing they have food on their hands or face, it is not that the receptors are off, but the brain receives the message that something is not right. We can help children develop this and make sense of it by introducing them to a variety of tactile stimuli with gentle guidance. OTs specialize in grading activities and modifying them appropriately to help children become accustomed to various sensations and integrate appropriately. Having scoops of various size and shape helps with that modification but still offers great benefits to the tactile sense as well as fine motor movements, wrist mobility, and bilateral coordination.

That’s just the beginning of the many benefits of sensory bins. Along with tactile perception, children are working on fine motor and visual motor skills, language, and play skills.

Here are some simple ideas for sensory bin fillers:

  • Oats

  • Beans

  • Lentils

  • Dried pasta

  • Cooked spaghetti!

  • Cotton balls

  • Popcorn kernels

  • Rice

  • Sand

  • Salt

  • Epsom salt

  • Water

  • Cornstarch and water mixed to make Oobleck

    With all of these sensory bin fillers, you can add scoops, funnels, paper towel rolls, measuring cups, muffin tins, breast pump flanges, cupcake/muffin liners. I love adding figurines as well to build open-ended and imaginary play skills.

    Here are some other great activities to help babies and children develop their tactile sense:

  • Exposure to a variety of different textures, temperatures - let them explore and get messy!

  • Feel and find activities such as reaching into a bag to find various objects without using their vision.

  • Shaving cream or yogurt (for kiddos putting fingers in their mouths often)

    So dive right in, have fun, experiment with different materials to place in a sensory bin and enjoy the time connecting with your child or client! Hint* A tarp, tablecloth, or old sheet are very handy underneath the sensory bin!


References:

Shao-Hsia Chang; Nan-Ying Yu. Visual and Haptic Perception Training to Improve Handwriting Skills in Children With Dysgraphia. Am J Occup Ther. 2017; 71(2):1-10.

Yu, T-Y, Hinojosa, J., Howe, T-H., Voelbel, G. Contribution of Tactile and Kinesthetic Perceptions to Handwriting in Taiwanese Children in First and Second Grade. OTJR Occupation Participation Health 32(3):87-94, July 2012  https://doi.org/10.3928/15394492-20111209-02